Fresh, healthy, and sustainable#
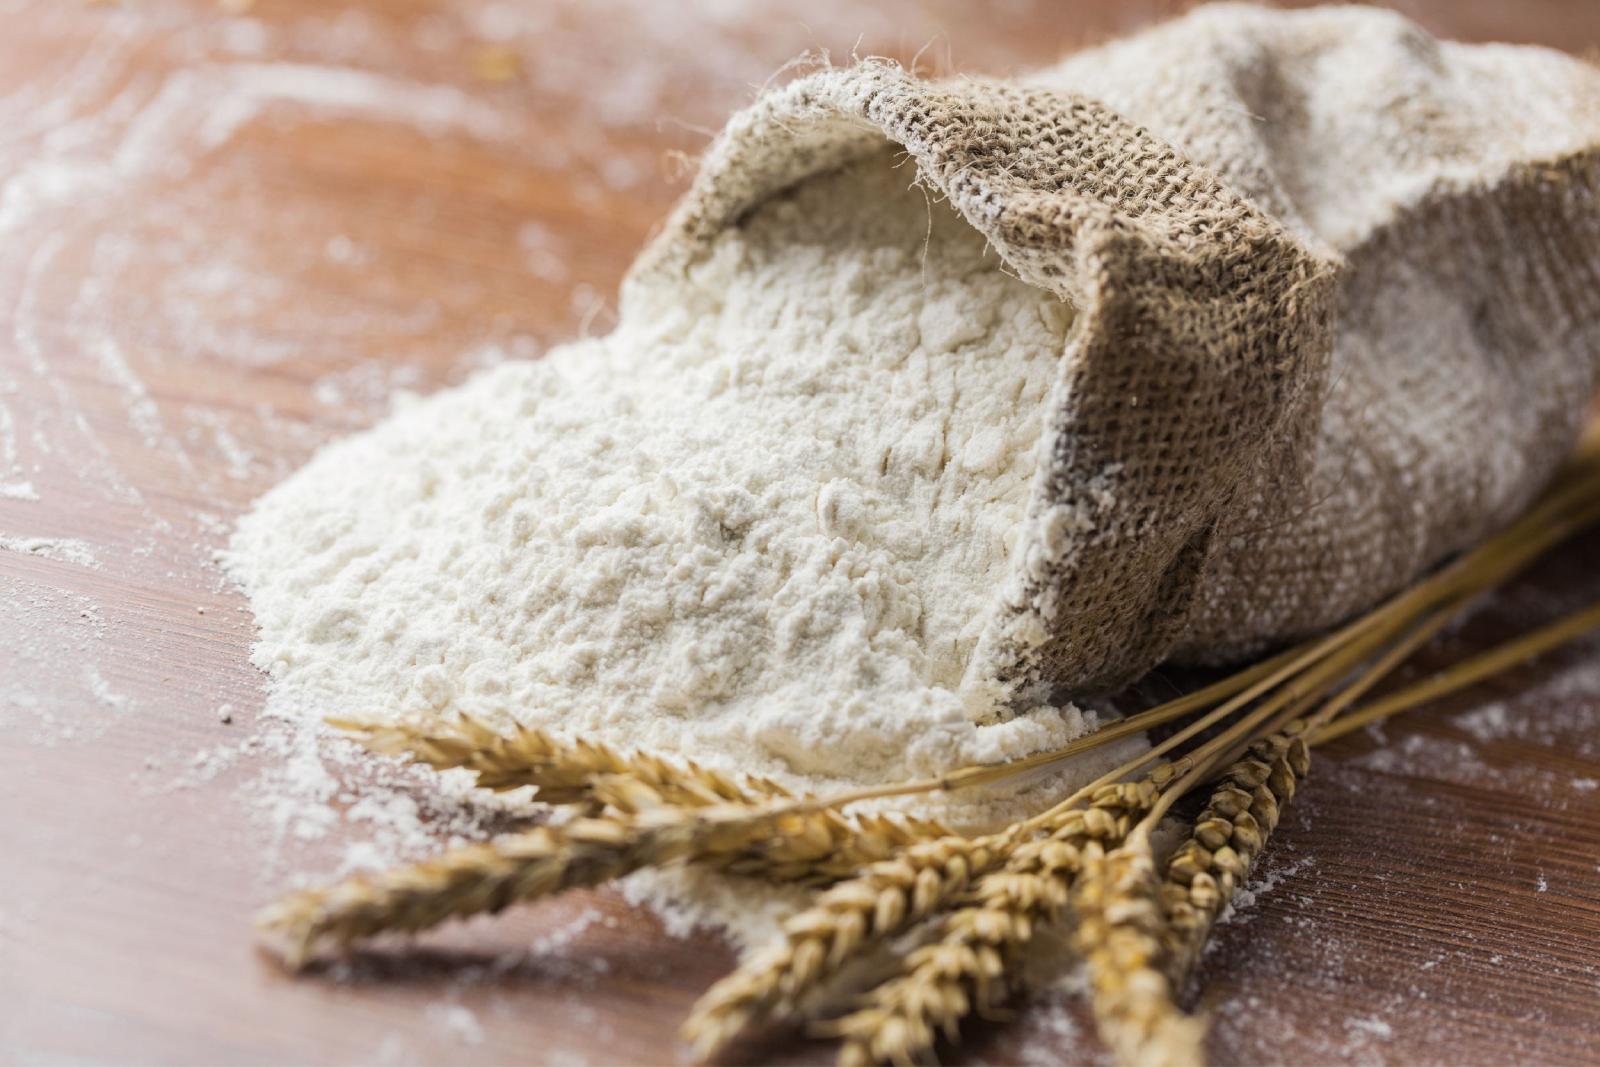
Freshly milled flour contains significantly more nutrients than store-bought flour. The valuable fats and vitamins in the grain kernel remain in the bran when milling, which means your flour contains more fiber, vitamins, and minerals. You can also be sure that no preservatives are included — and the taste of freshly milled flour is unbeatable!
Equipment for milling#
There are various options for milling grain. There are kitchen tools that let you make your own flour very easily.
– Hand mill#
With a hand mill, you can make your own flour using muscle power. It requires no electricity, and you can decide yourself whether your flour is fine or coarse.
– Electric grain mill#
A grain mill with a powerful motor can mill flour excellently. At the push of a button, an electric grain mill produces fine flour. In just a few minutes, you have your homemade flour.
– High-performance blender#
A high-performance blender with 1000 watts of power is equally suitable for milling flour. Power plays an important role here, because you need plenty of it.
Tip: If you decide on a grain mill for the long term, it is worth choosing one made from natural materials. Wood or stone mills not only last a long time, but also produce very fine and even flour.
Choosing the right grain#
The flavor and properties of your flour depend heavily on the grain you use. Here are some popular varieties:
- Wheat: Ideal for bread, rolls, and cakes.
- Spelt: A nuttier alternative to wheat, also great for bread and pastries.
- Rye: Especially good for hearty breads.
- Oats: Produces mild, slightly sweet flour, perfect for pancakes and muesli.
- Millet, buckwheat, or quinoa: Gluten-free options that work well for bread and pasta.
Tip: You can also use blends of different grains to vary nutrients and flavor.
Milling instructions#
Step 1: Prepare the grain
Check the grain for any foreign objects (e.g. small stones) and wash thoroughly if necessary. Make sure the grains are completely dry before milling.
Step 2: Adjust the mill
Depending on how fine or coarse you want the flour, adjust your grain mill accordingly. A fine grind works well for baked goods, while a coarse grind is ideal for rustic bread.
Step 3: Mill
Let the grains trickle slowly into the mill. With electric mills this happens almost automatically; with hand-operated mills you need a little strength. Only mill as much as you plan to use in the coming days, because fresh flour quickly loses flavor and nutrients.
Step 4: Store the flour
If you cannot use the flour right away, store it in an airtight container in a cool, dark place — ideally in the refrigerator or freezer. This keeps it fresh longer.
Making your own flour is a rewarding investment in flavor and health. You decide on the type of flour, freshness, and quality — and always have exactly what you need. With a little practice and a suitable grain mill, you can create a wide variety of meals and baked goods while reducing packaging waste. Give it a try and enjoy the difference!